Single Sign On - SAML Configurations
To view all SAML Configurations for your organization, click on the "Server Settings" tab, and select "Advanced Settings", then click on "Single Sign On (SAML)".
SAML 2.0 is a protocol that allows web applications like OptiTune to implement Single Sign On (SSO) with an Identity Provider (IdP).
The following Identity Providers have been tested with OptiTune. Click on the name of an Identity Provider for step by step instructions.
| Name | Description |
|---|---|
| Azure AD | Microsoft Azure Active Directory - cloud based active directory |
| ADFS | Microsoft Active Directory Federation Services - local active directory |
| Google Workspace | Google Workspace - For organizations using Google Workspace |
| Okta | Okta Workforce Identity |
The Identity Provider handles authenticating end users when they try to login to their account in OptiTune. When you setup a SAML configuration, you are allowing that external identity provider to handle authentication for your organzation, and must trust it to correctly authenticate users. Make sure that your identity provider has two factor authentication setup, as any additional two factor authentication in OptiTune won't be used for single sign on.
When a user logs in via SSO, if an account with the given email address exists in your OptiTune organization, then that account is used for the login. Otherwise, if the account doesn't exist in your organization, and the SAML configuration allows for provisioning user accounts, a new user account is created with that email address, first name, last name, and a generated user name that can be changed later on. You can also refer to the field mappings that OptiTune uses for its SAML 2.0 implementation.
Overview
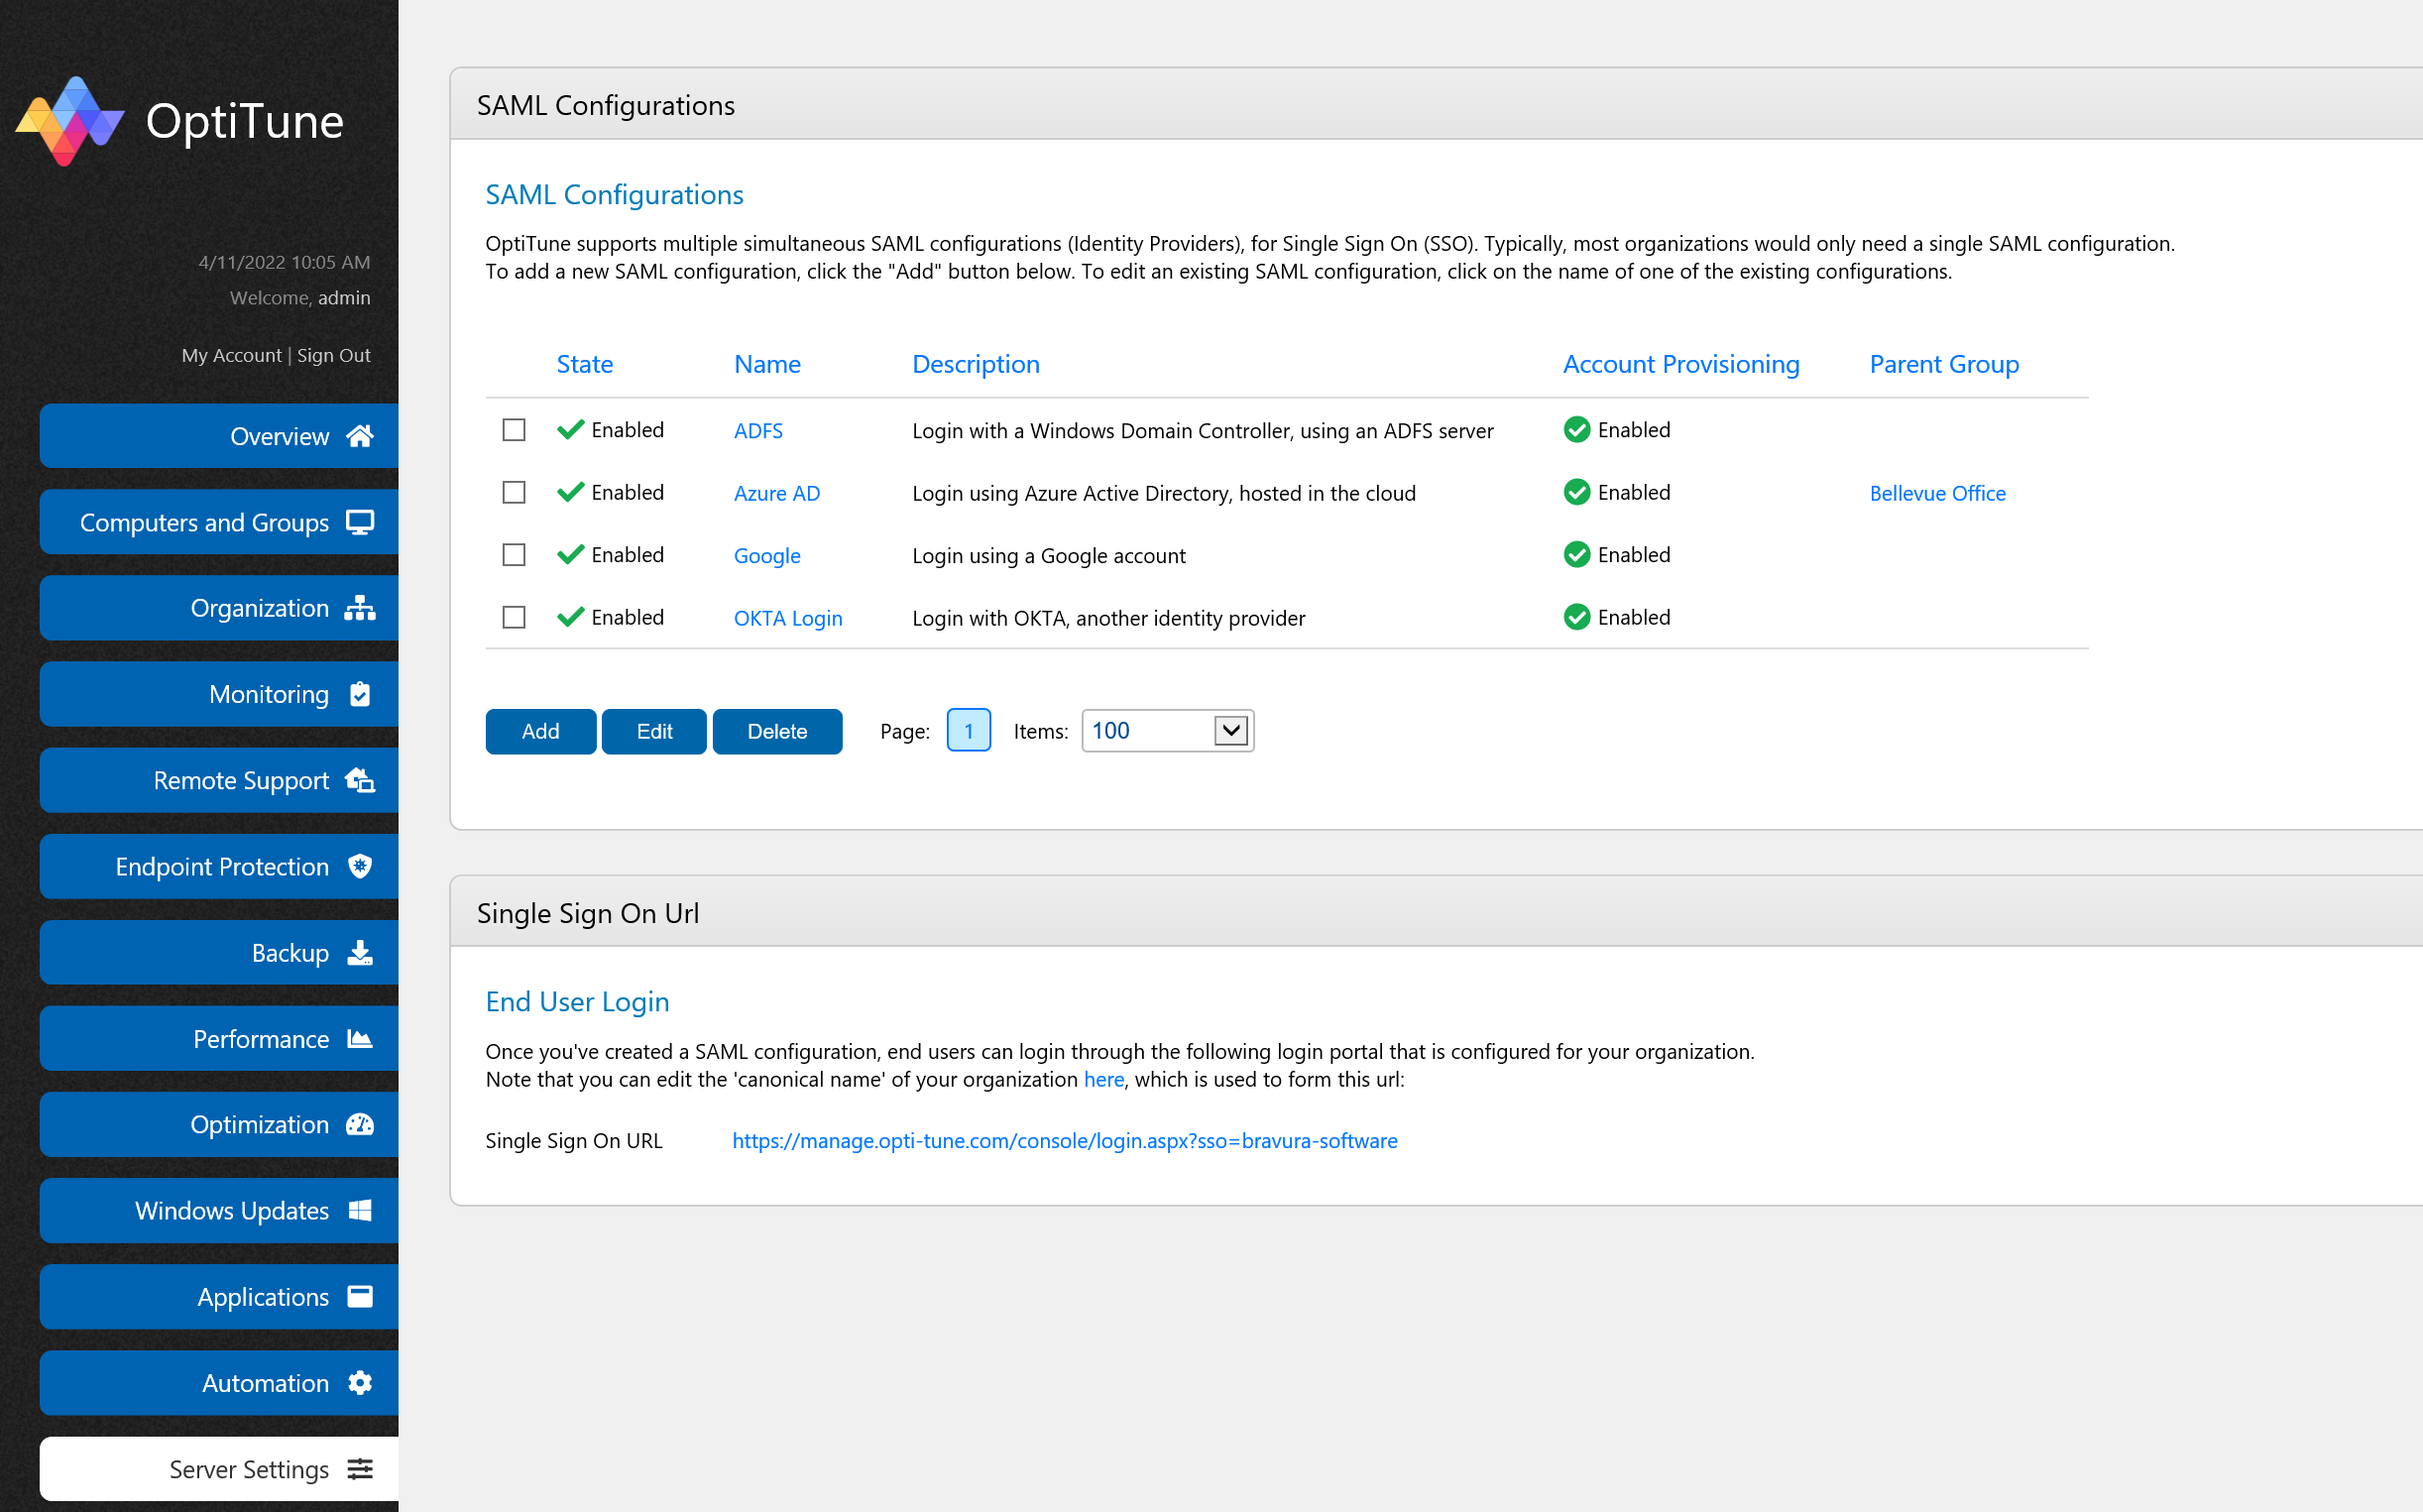
OptiTune supports multiple simultaneous SAML configurations (Identity Providers), for Single Sign On (SSO). Typically, most organizations would only need a single SAML configuration.
Columns
This screen has the following columns:
State - is the configuration Enabled or Disabled?
Name - the name of the configuration, also used for the SSO login button
Description - a short description of the configuration
Account Provisioning - does the configuration allow automatic provisioning of new user accounts in OptiTune?
Parent Group - if Account Provisioning is enabled, should new user accounts be restricted to a specific group?
Add/Edit/Delete
To add a new SAML Configuration, simply click on the "Add" button at the bottom of the screen. To edit a SAML Configuration, either click on its name, or select its checkbox and press "Edit". To delete one or more SAML Configurations, select them using their check boxes (hold down Shift to multi-select), and press the "Delete" button.
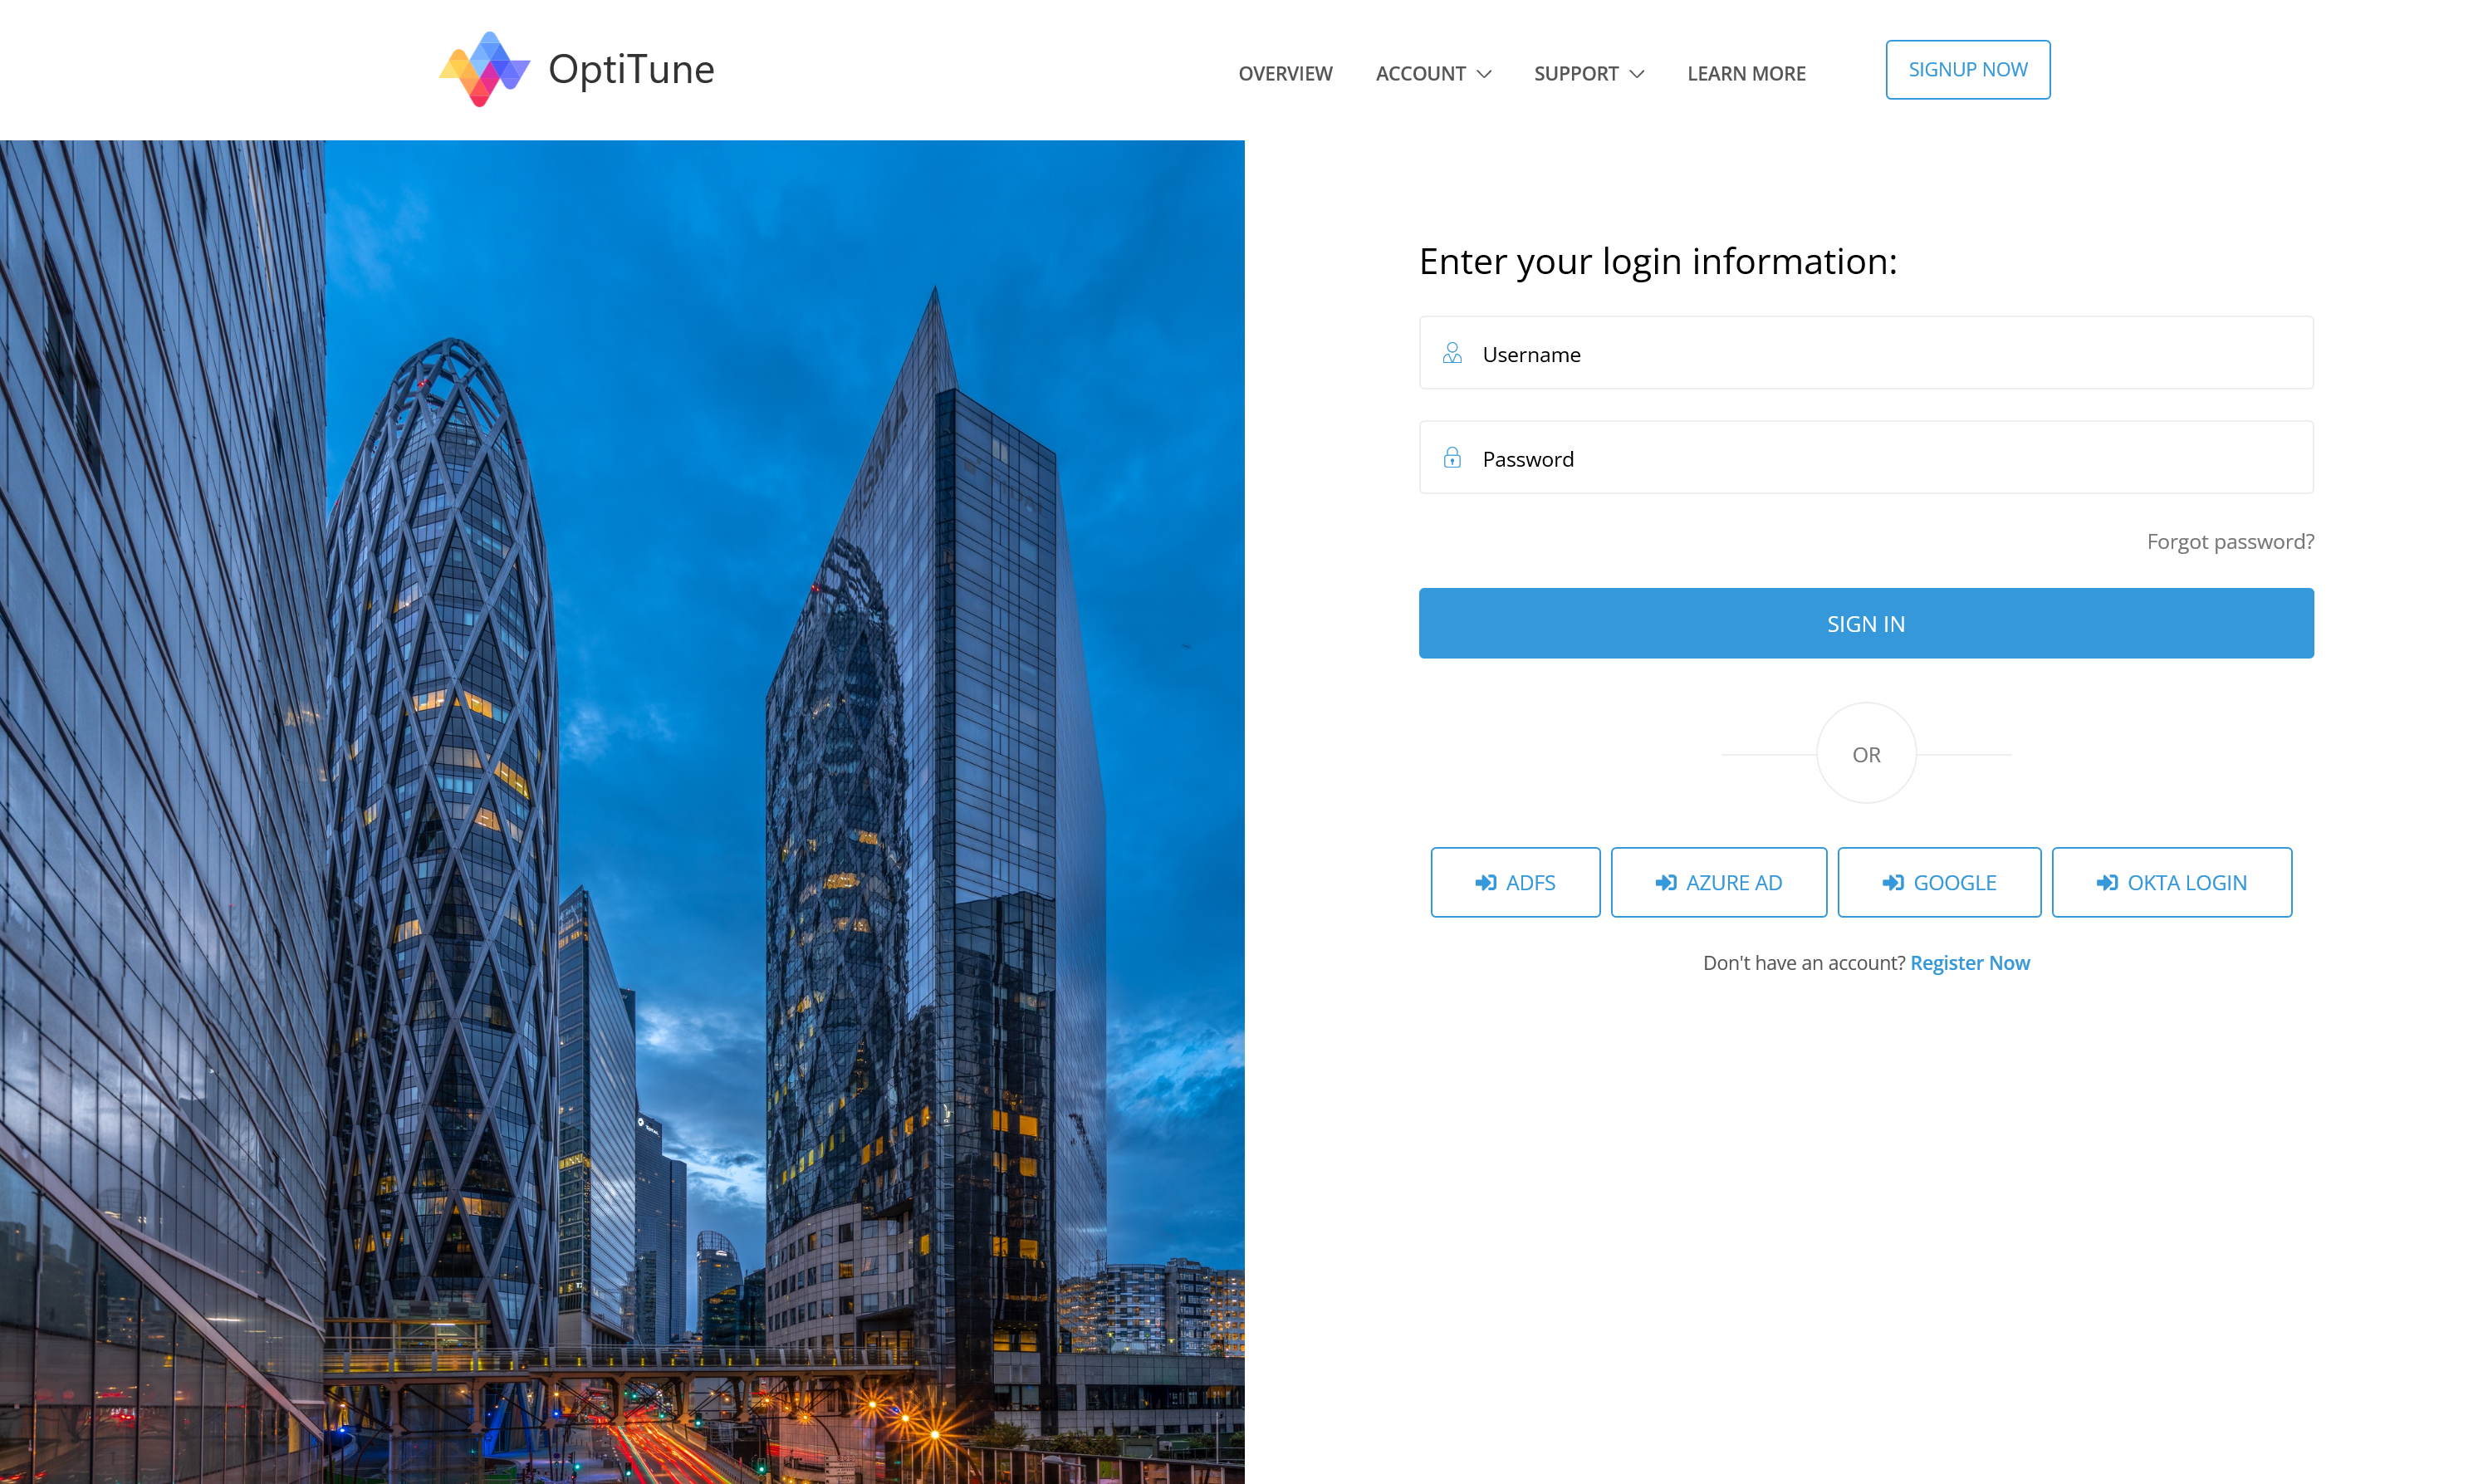
Single Sign On - Login Page
Once you have created a SAML configuration, end users can login via Single Sign On via a special login url for OptiTune. The SSO url is also shown at the bottom of this page, and must be used to authenticate via Single Sign On, as it provides the login buttons for each of the SAML configurations you have setup for your organization.
The SSO login page will look like the following, with login buttons for each of the SAML Configurations that are setup for your organization: