HaloPSA Integration
Introduction
On this page, you can create a new HaloPSA integration, or edit an existing HaloPSA integration.
As a prerequisite, you need to have a working HaloPSA account and HaloPSA "API Application" that is setup correctly with appropriate access.
When adding a new HaloPSA Integration in OptiTune, you will first be prompted to enter the "Server Type", "Tenant/HostName", "Client ID" and "Client Secret" for your HaloPSA API Application.
Follow the steps outlined in the next section to create the HaloPSA API Application, and copy and paste the credentials back in OptiTune.
HaloPSA API Application
First, you will need to create an API Application that provides access to HaloPSA.
Login to your HaloPSA server.
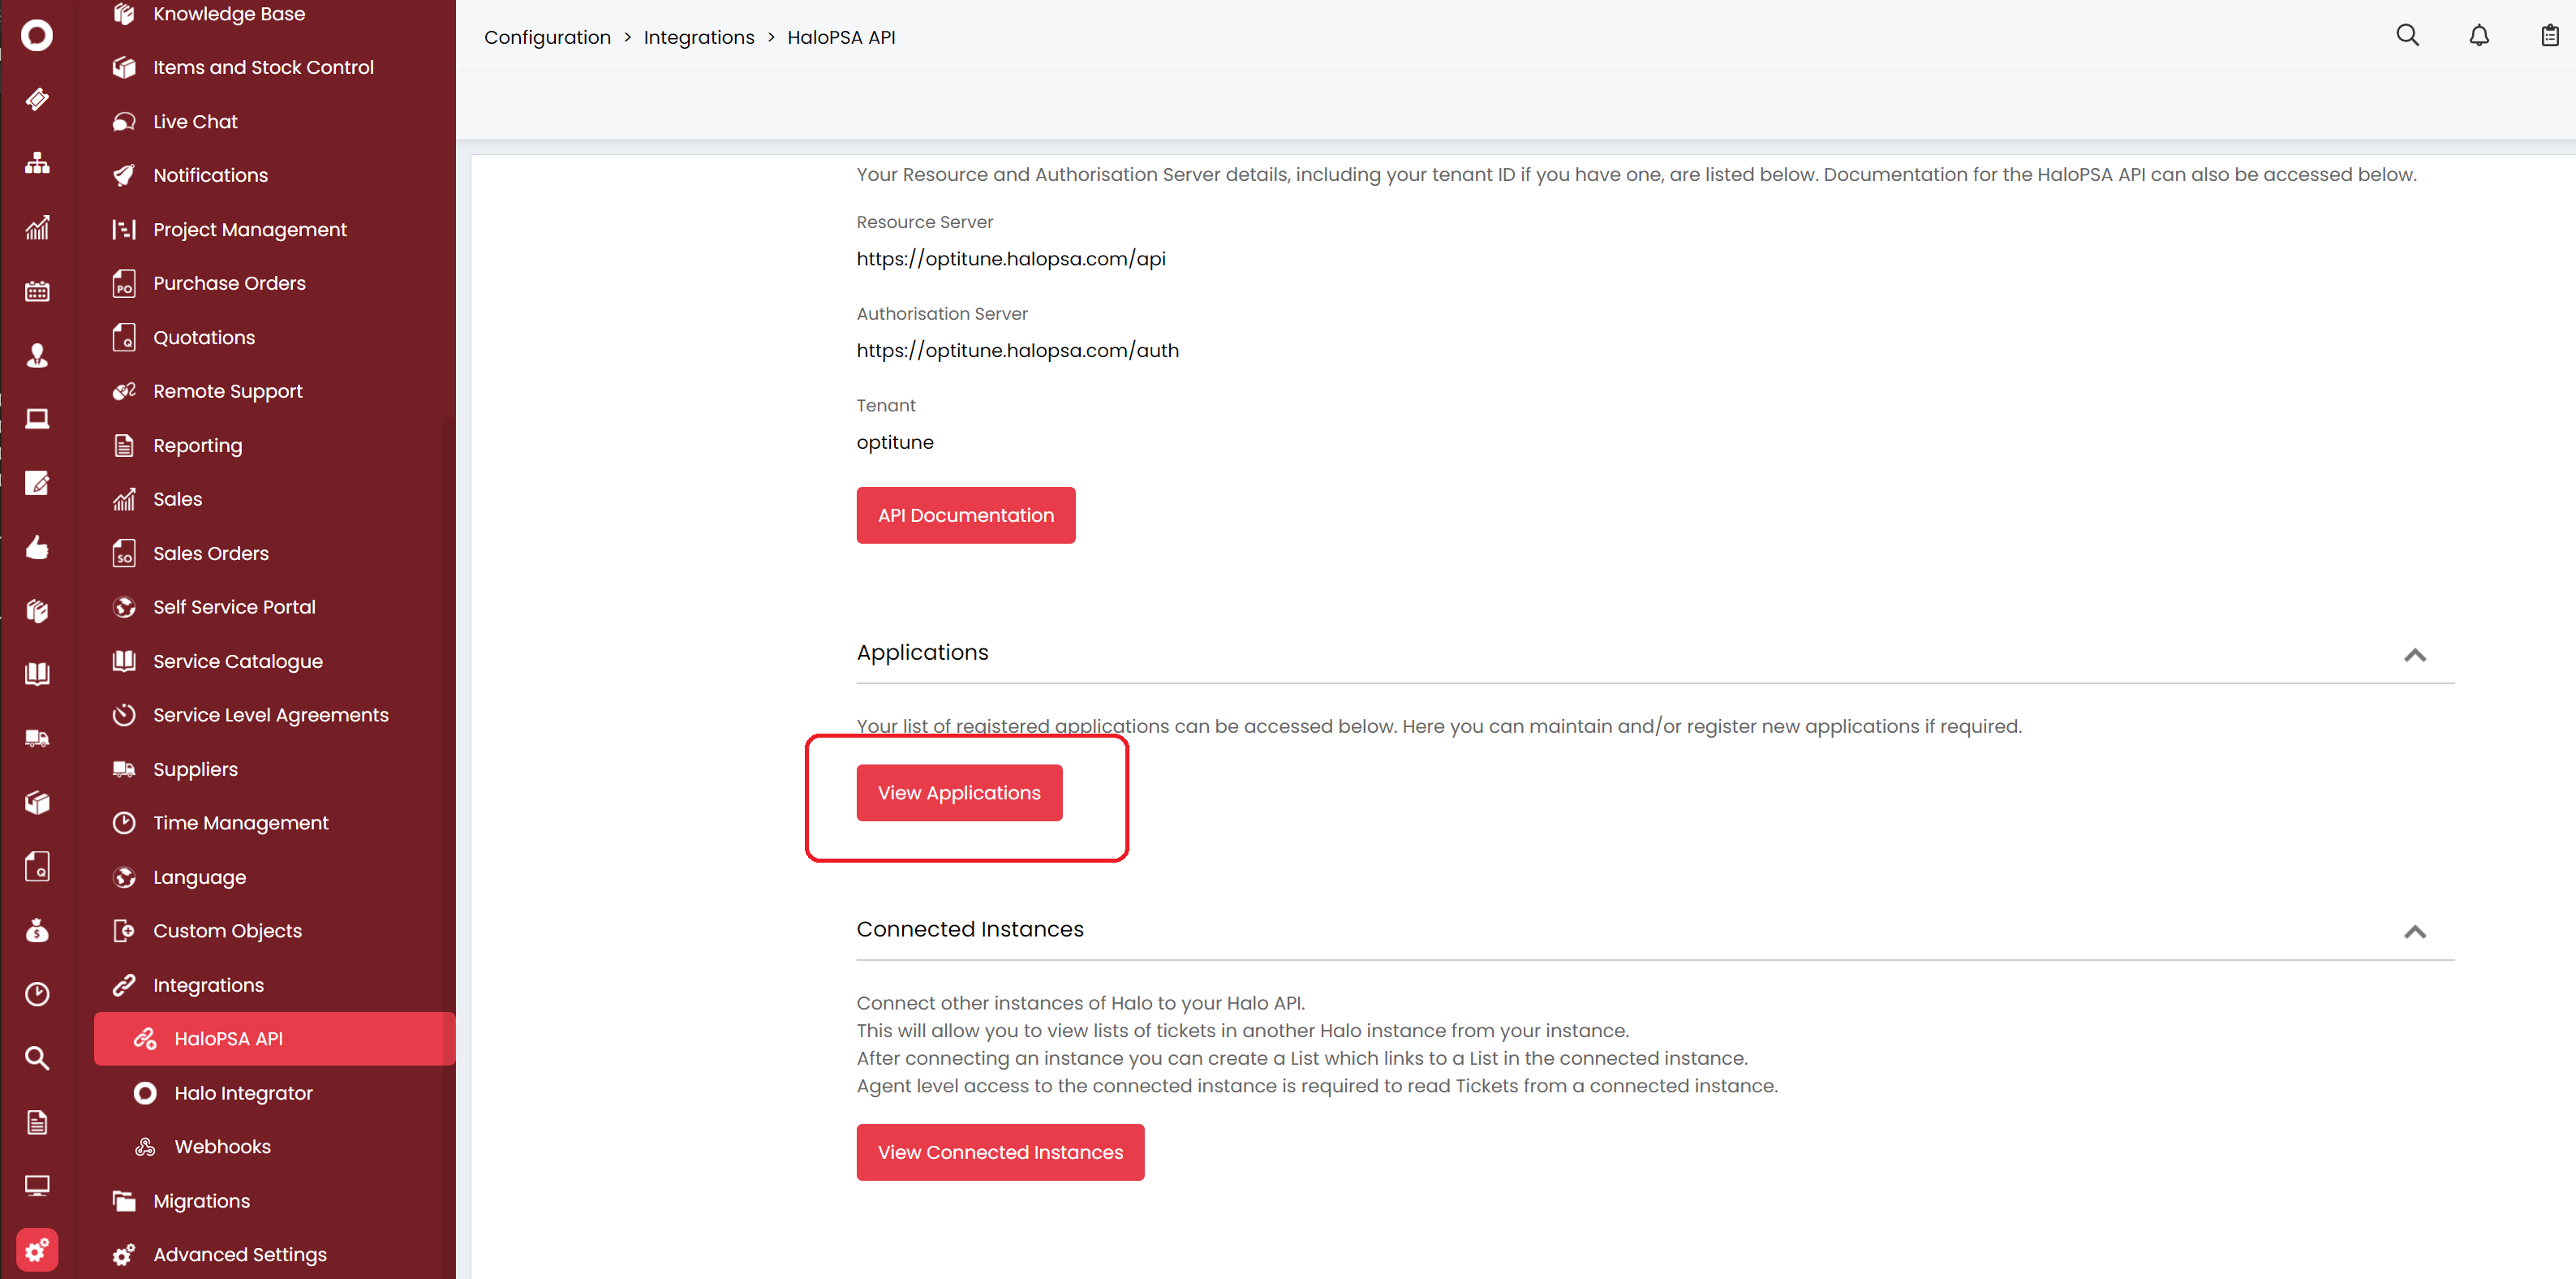
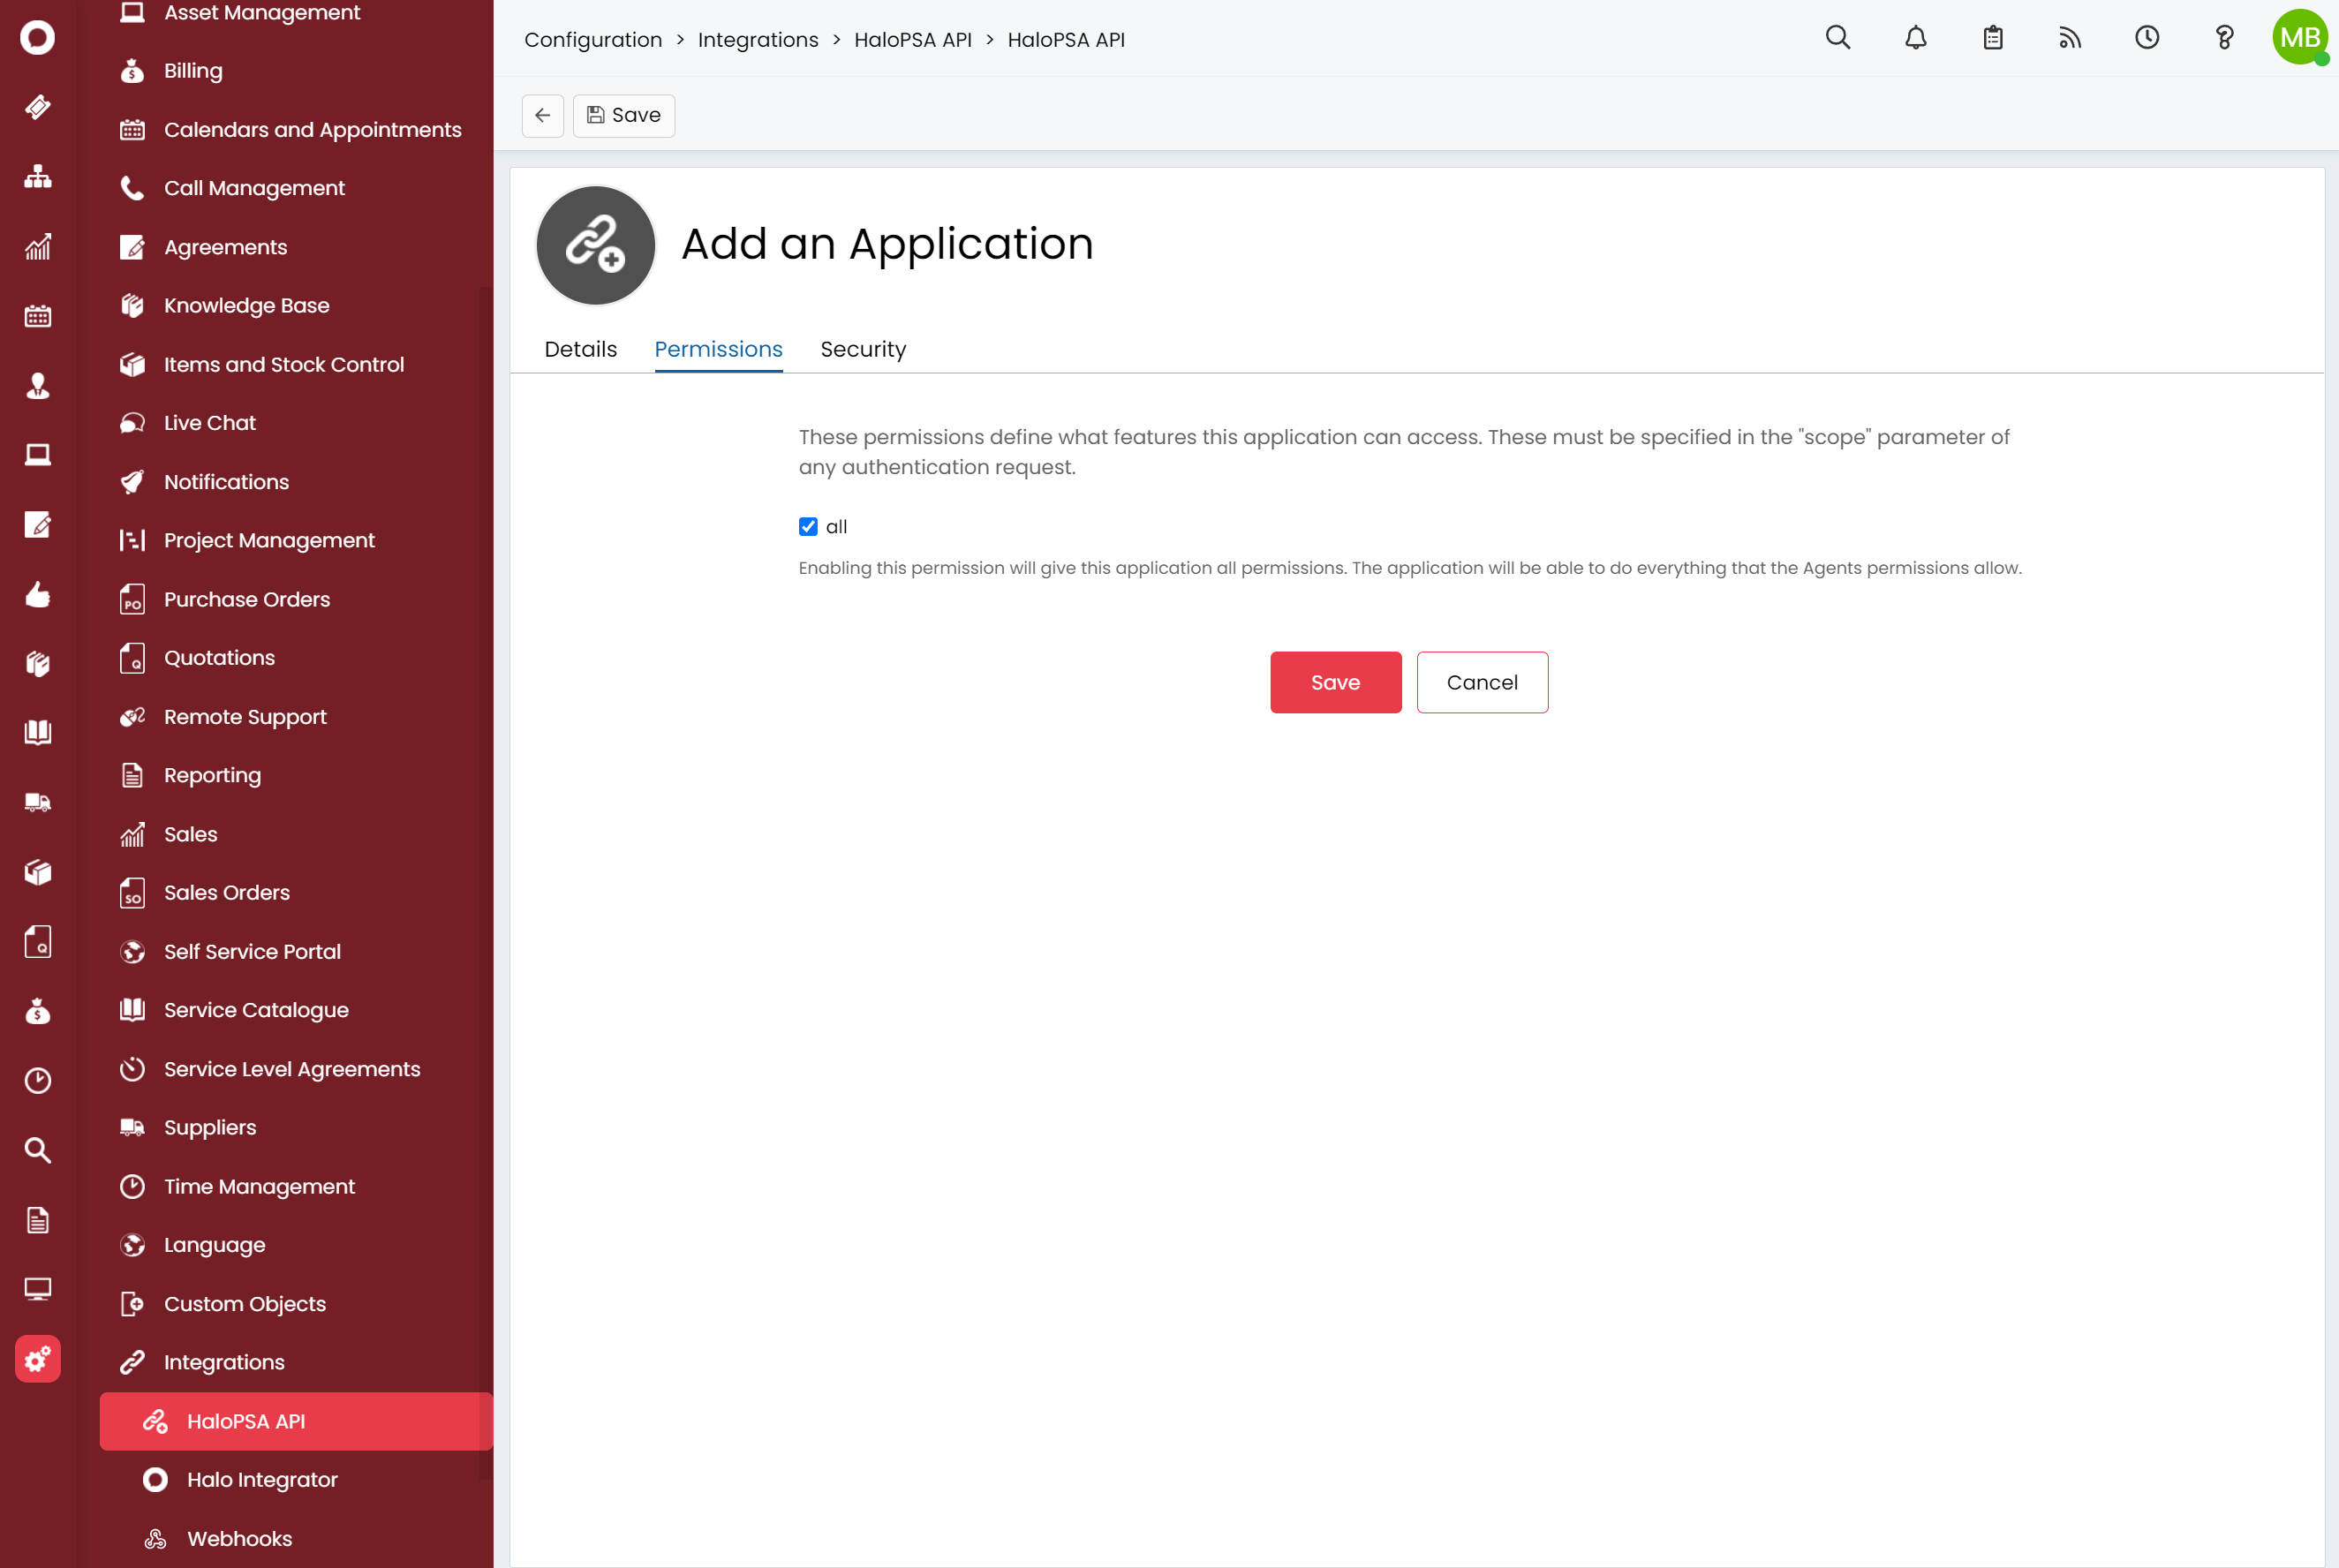
Then, go to "Configuration" > "Integrations", and click on "View Applications".
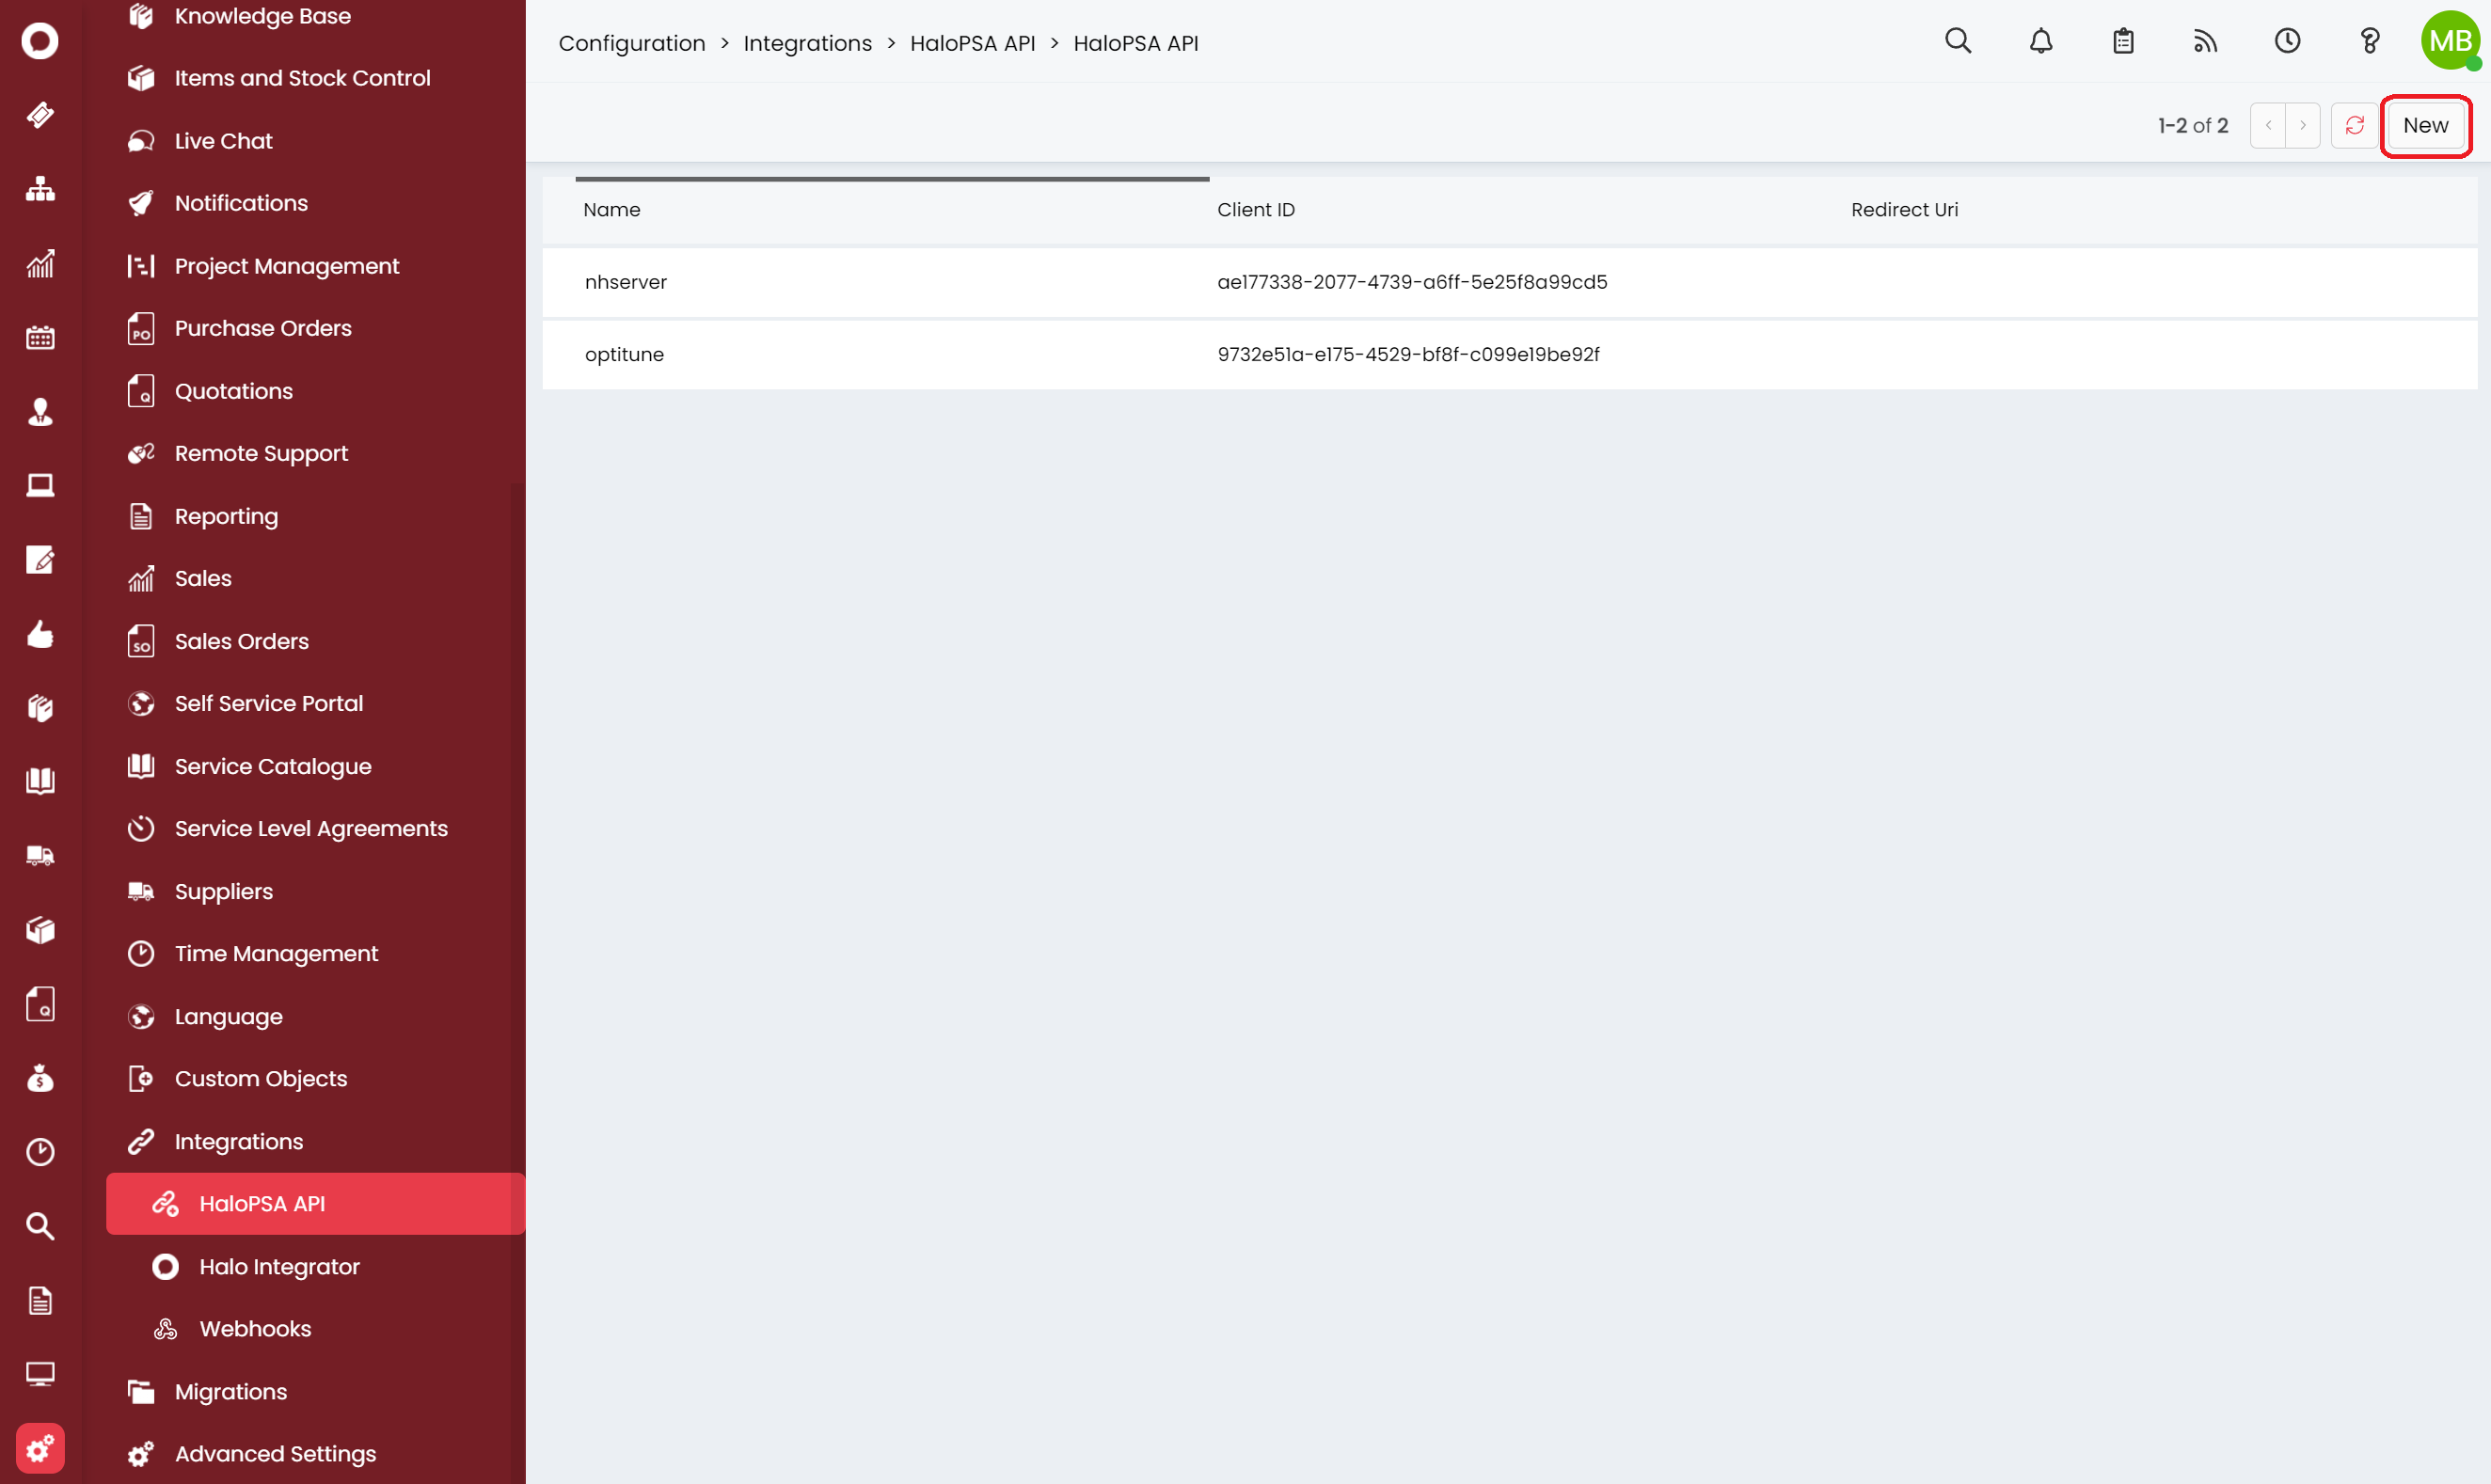
Click "New" at the top right.
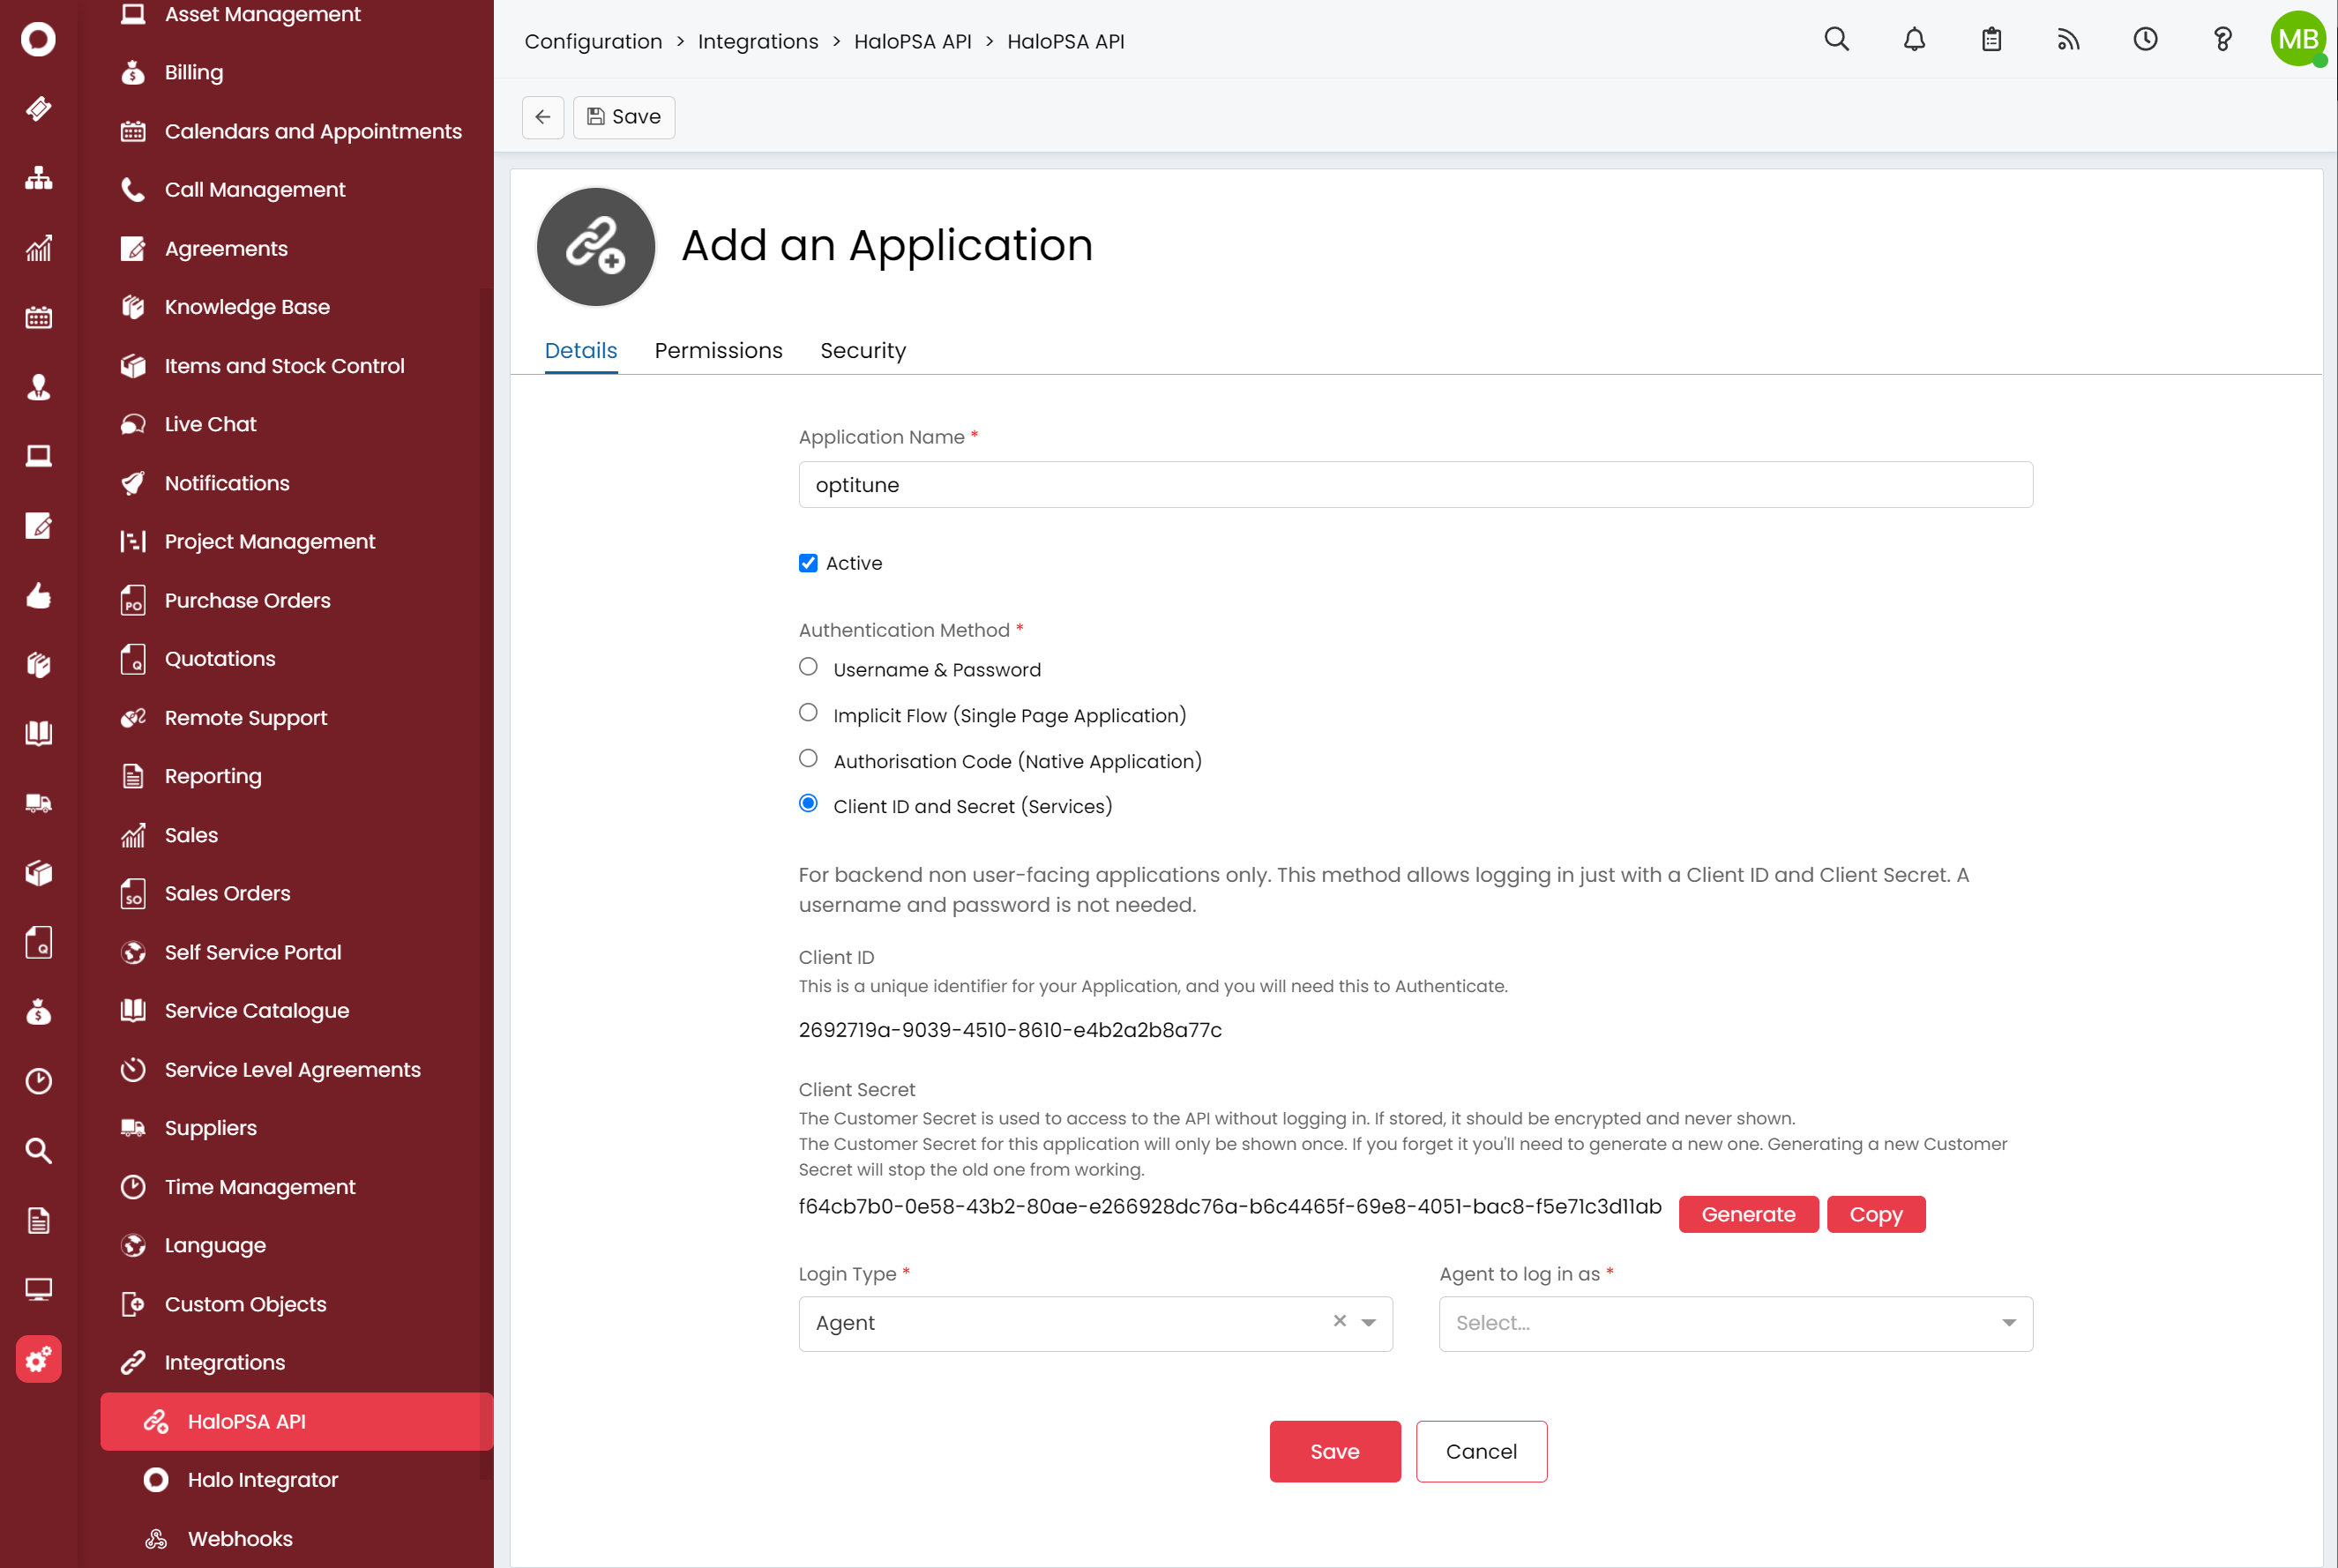
Fill in the Application's details
- Enter a name for the application, e.g. "optitune"
- For the Authentication Method, select "Client ID and Secret"
- Make sure you copy down the values for the "Client ID" and "Client Secret", as the Client Secret will only be shown once.
- Select an agent under "Agent to login as"
Select "all" for the security permissions, and click "Save" to create the API Application.
Create the Integration in OptiTune
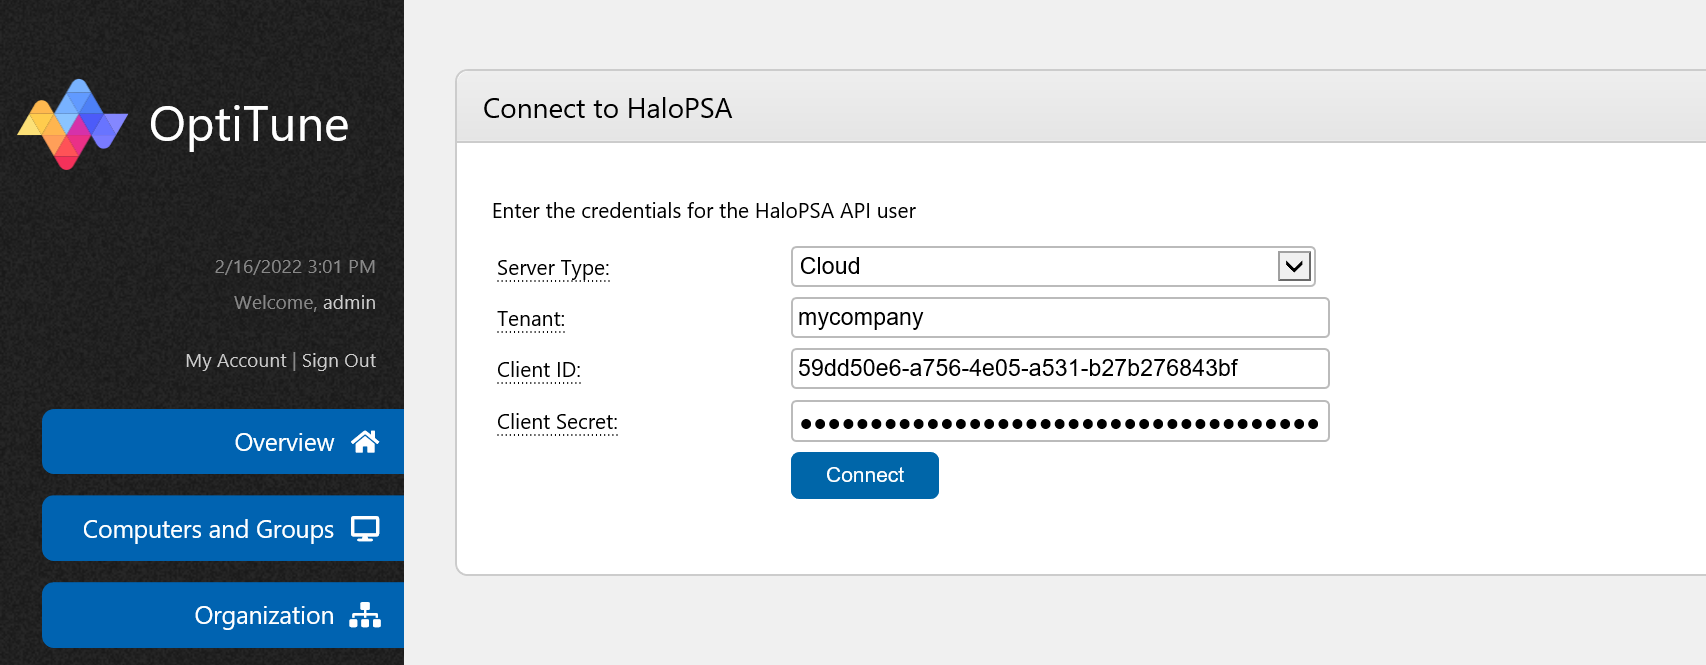
Back in OptiTune, enter credentials for your API Application.
- Server Type - Either "Cloud" or "On Premises". Most customers will be using the cloud hosted version of HaloPSA, but if you are self hosting the HaloPSA product, select "On Premises".
- Tenant - When you've selected "Cloud" for the server type, enter the tenant name for your instance. For example, if your HaloPSA server is https://mycompany.halopsa.com you would enter mycompany
- Host Name - When you've selected "On Premises" for the server type, enter the host name of your HaloPSA server. For example, halo.mycompany.com
- Auth Server - Optional. If you need to enter a different URL for the authorization server, enter it here, For example, https://us-trial.halopsa.com
- Client ID - enter the Client ID value for your HaloPSA API Application
- Client Secret - enter the Client Secret value for your HaloPSA API Application
Integration Details
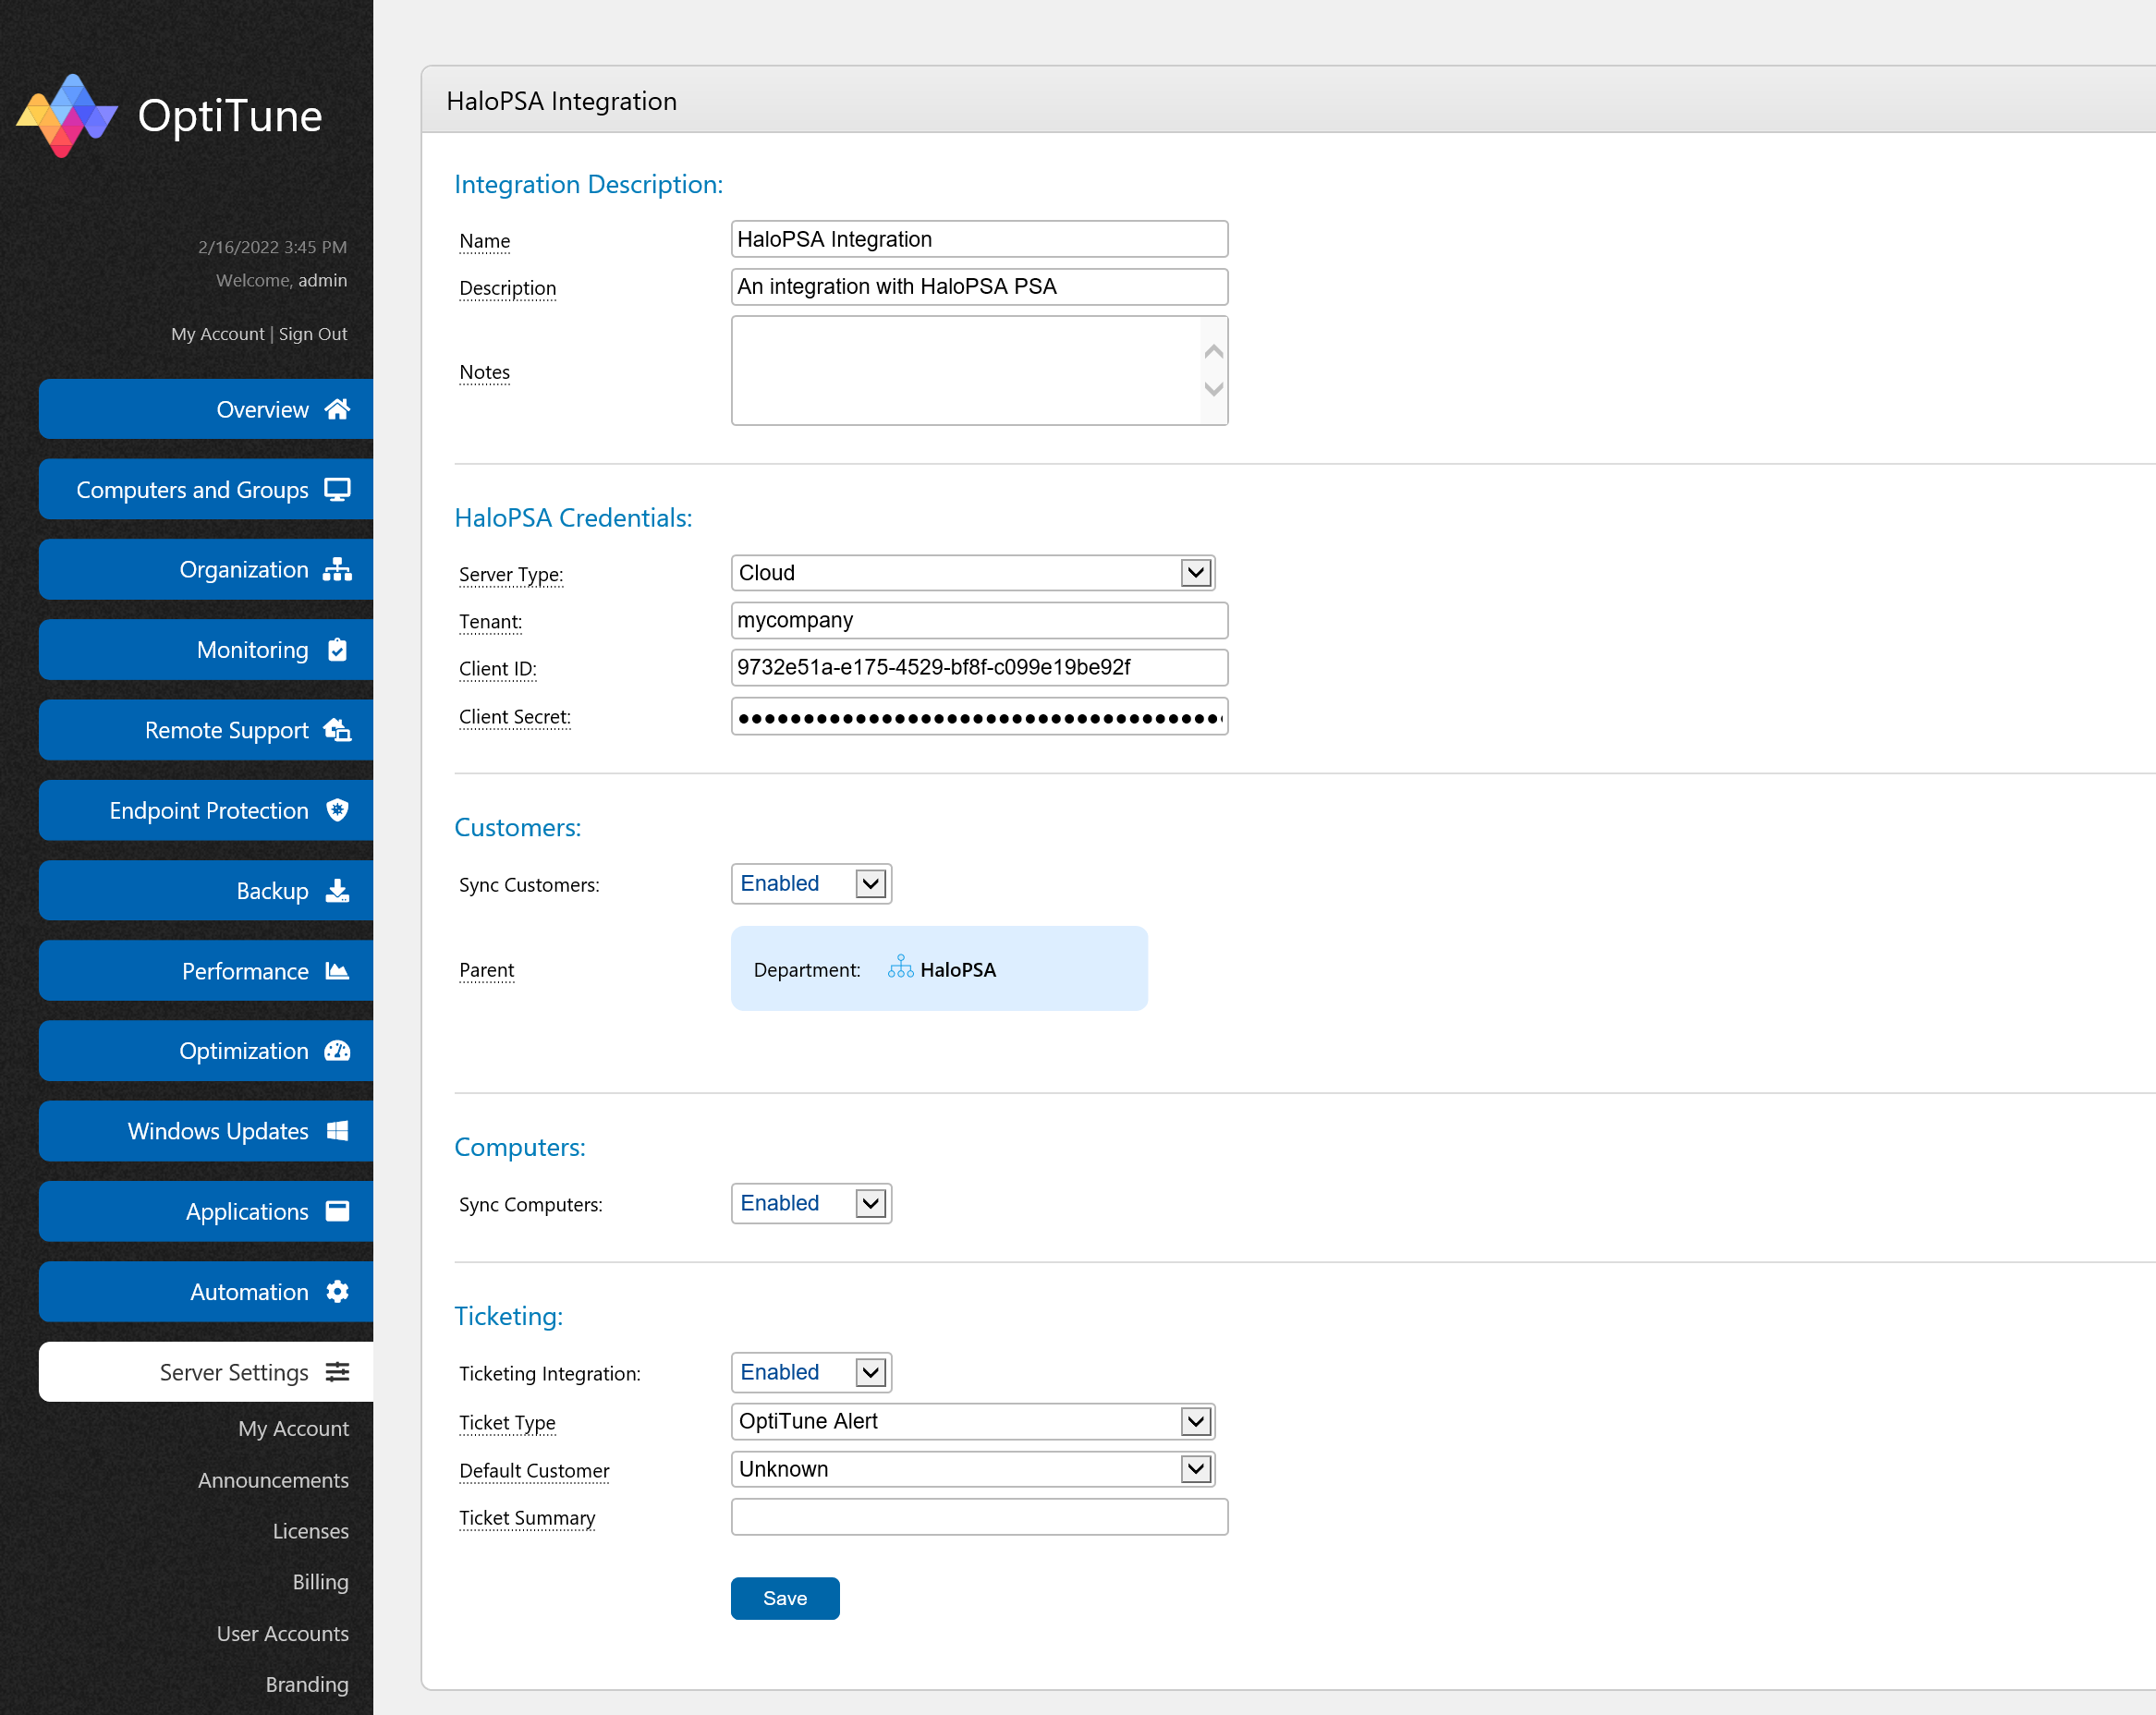
If this is your first HaloPSA Integration, a new business entity called "HaloPSA" will automatically be created for you, and selected as the parent business entity. If everything looks good, you can just click "Save" and use all the defaults selected. Mouse over each label for a detailed explanation of each field.
Run Synchronization
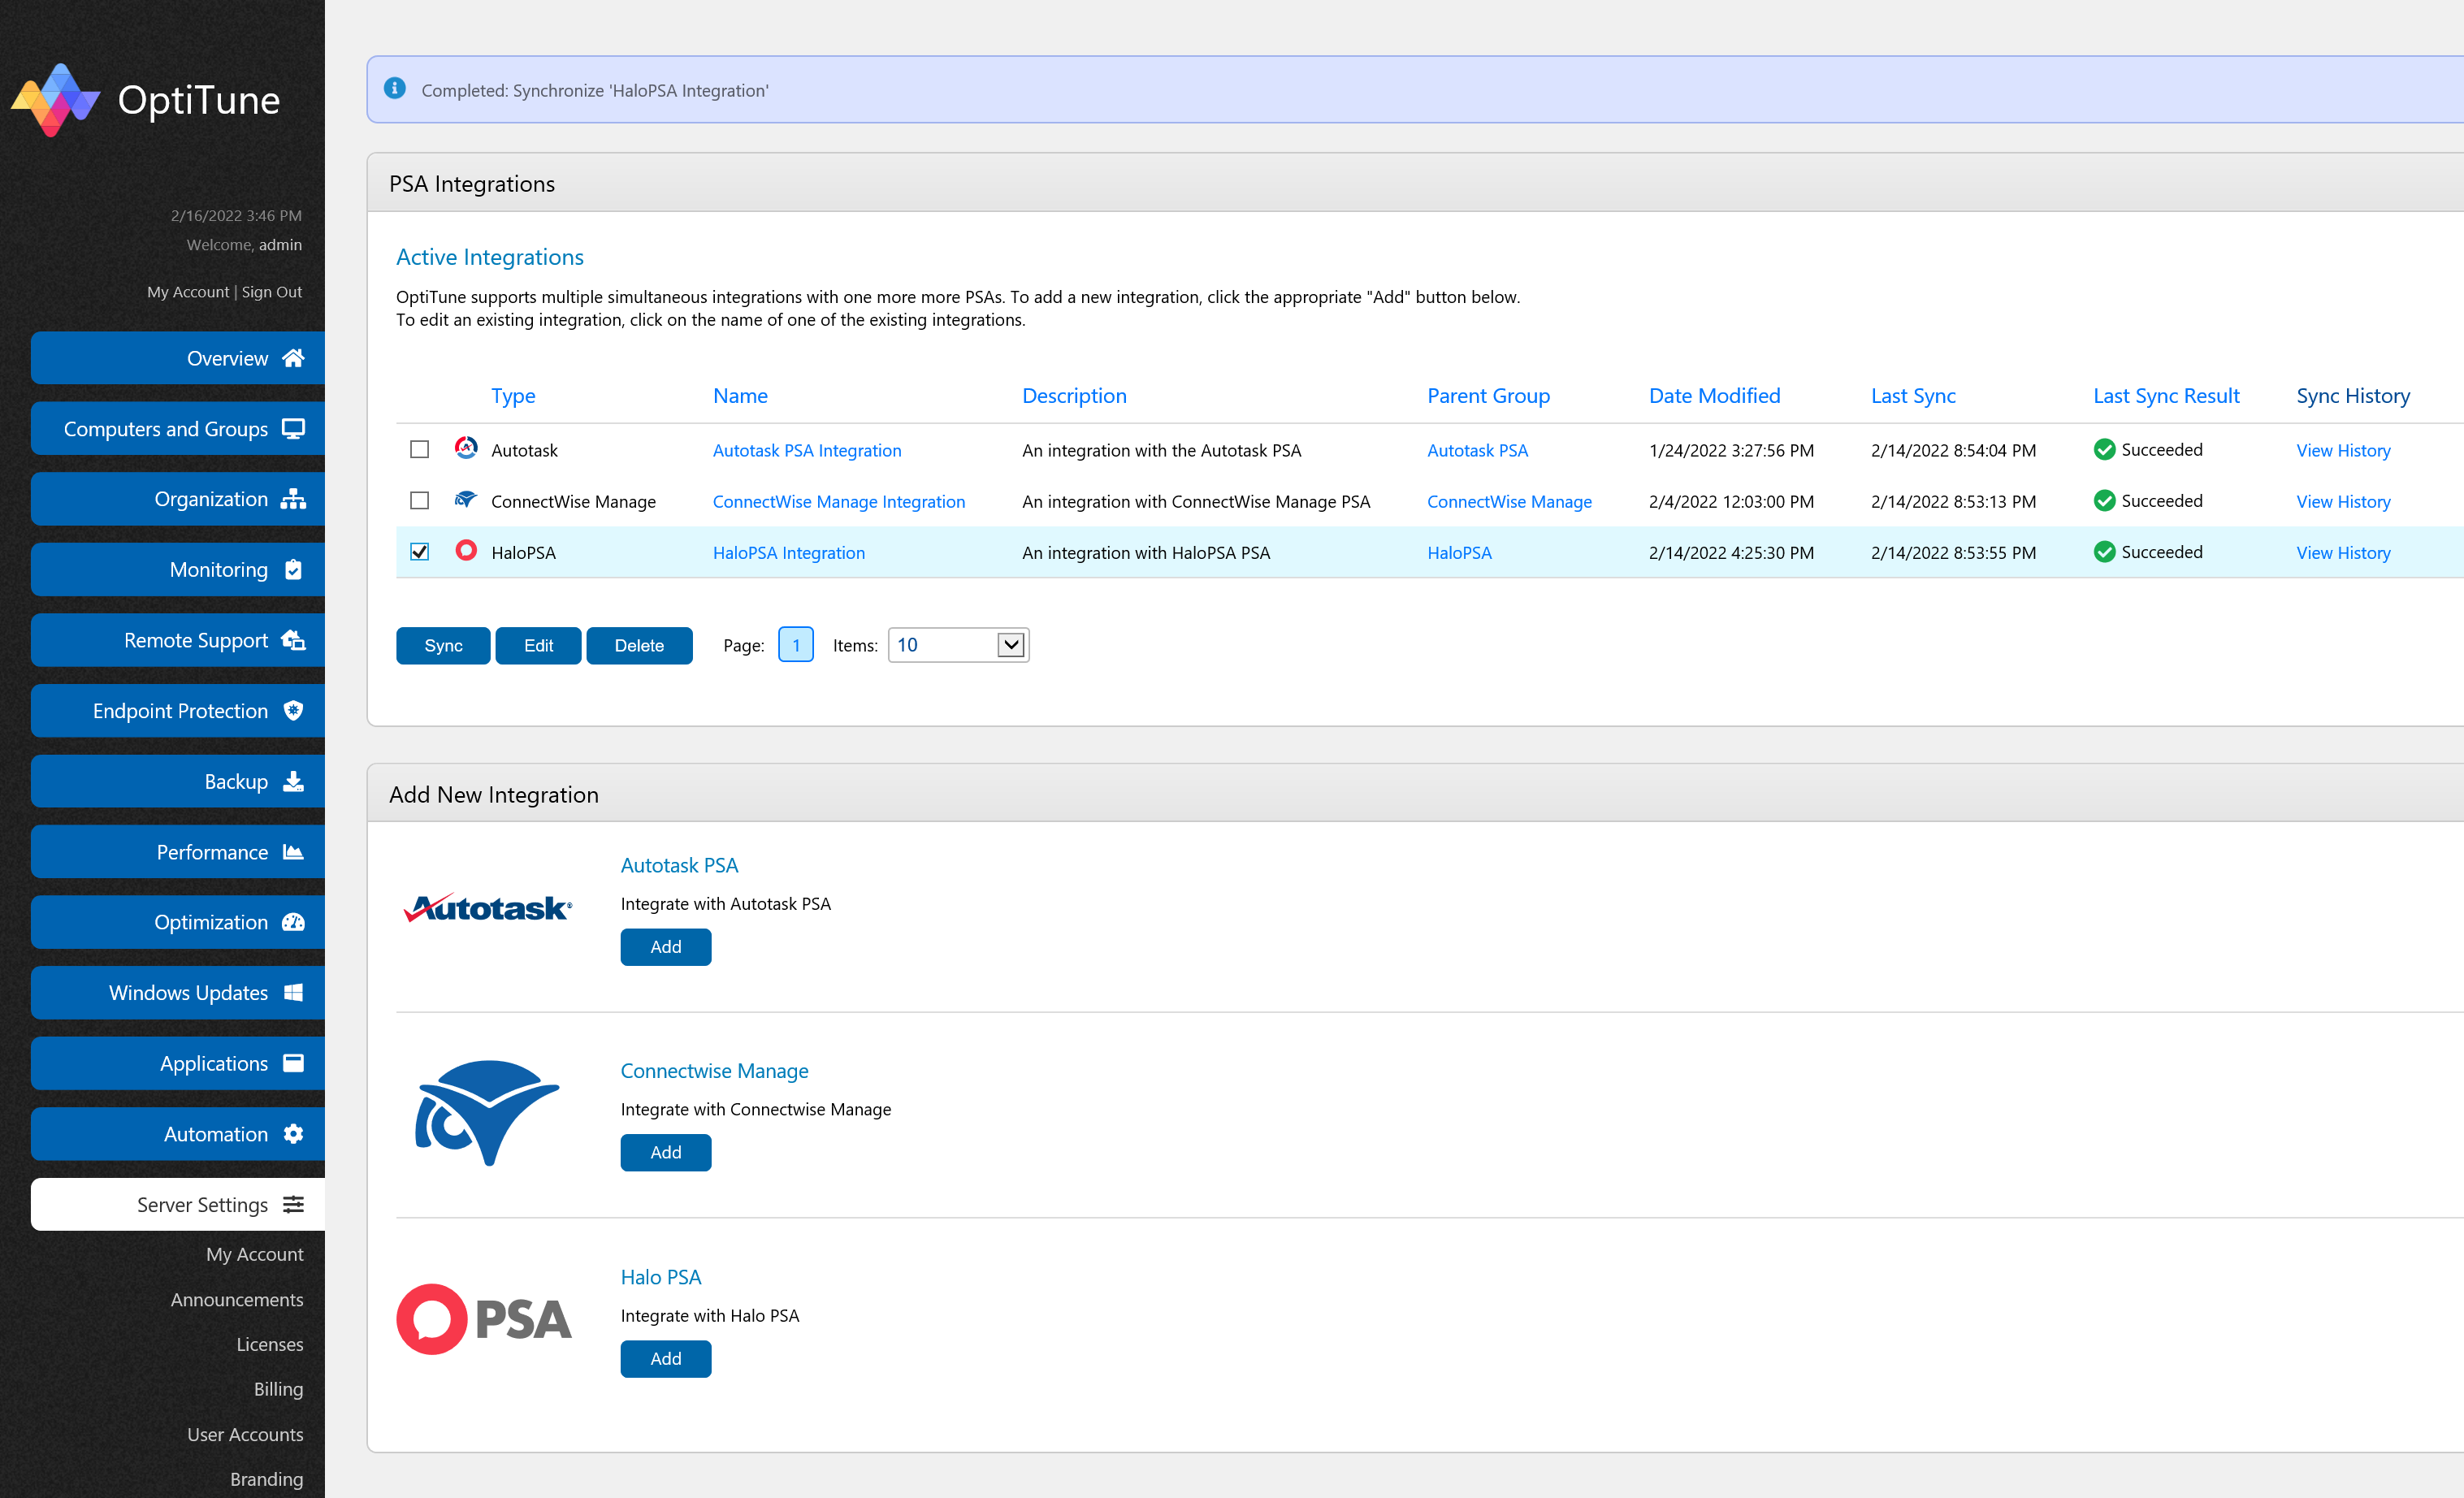
After saving your integration, click on the integration's checkbox, and then click "Sync". This will run the first synchronization for HaloPSA. You can then browse the business entities that were imported from HaloPSA, and add computers to them as needed directly in OptiTune. The sync process will automatically run every 4 hours, but you can also run it manually as shown below.
Creating Tickets in HaloPSA
If you have enabled the ticketing feature for your HaloPSA integration, in order to get tickets created in HaloPSA,
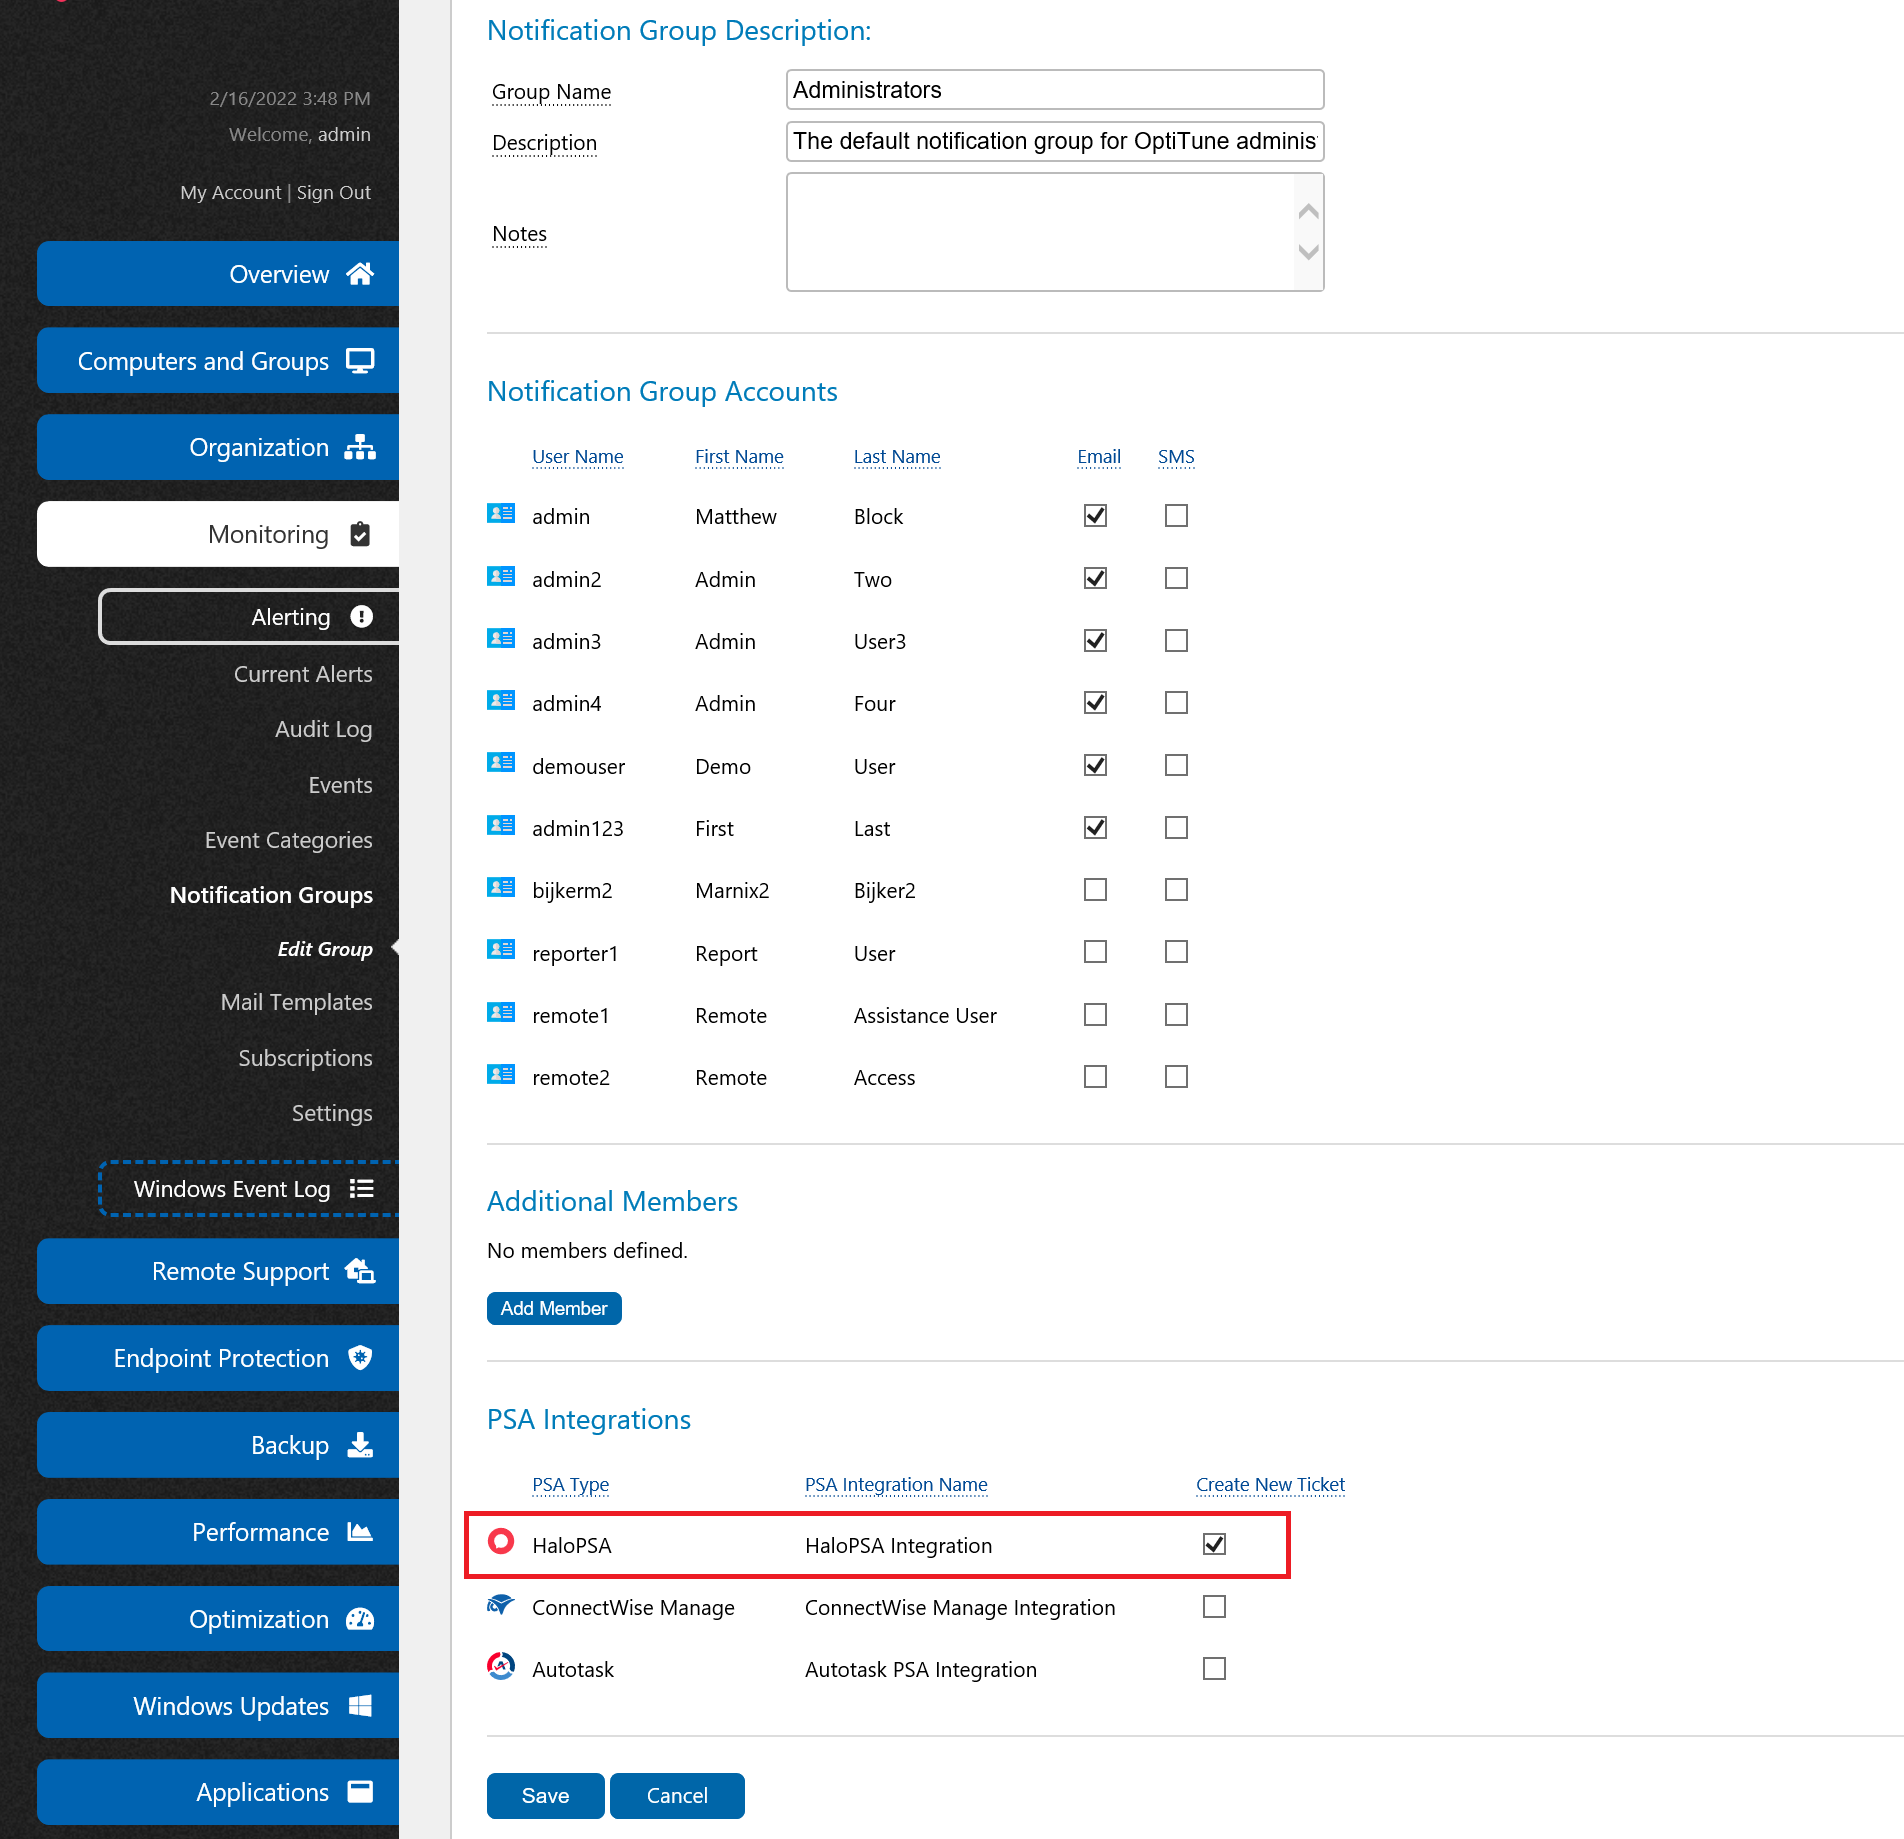
you will also need to associate the "integration" with one or more notification groups in OptiTune.
Learn more about how monitoring works in OptiTune.
Basically, OptiTune treats the PSA integration as another receipient in a notification group for an alert subscription, so you have to also add the PSA integration as a member of a notification group by clicking on its checkbox in the notification group page. Once you have done so, if there is an alert subscription that uses this notification group, tickets will be created in HaloPSA when alerts are activated for the alert subscription.
